There are a number of ways to visualize your project + process. You can toggle between these views at any time from the view toolbar, located in the top right corner of the project screen.
In this article, we'll look at the three basic and most common projects views.
Table view
The table view, the simplest project view, mimics a spreadsheet. Adding items is quick and easy - just click the + sign, type in your item name, and hit the enter key.
If you're thinking of your project in terms of phases or chunks, this view makes it easy to outline those chunks and get items into them quickly.

Tip: from almost anywhere in ResultMaps, you can grab an item and move it elsewhere. Grab the item, drag it, drop it to another section and it will snap into place.

Process (columns) view
The process or columns view takes your sections and lays them out into columns. Much like a Kanban board, this view is helpful for sorting items according to a process for moving your team towards completion, and visualizing that process.
Add items by clicking the plus sign at the top OR bottom of the desired column, then type your item and hit the enter key.

Here's what it looks like to add from the top of the column:
.gif)
If you have a lot of items you'd like to add to your project at once - the Type/Paste feature in the process view makes it easy to brain dump, or to paste in a bunch of items (from a spreadsheet or a list that exists elsewhere).
Click the cog icon at the top of the column you want to brain dump into, select Type/Paste, and input your items.

Roadmap view
The roadmap view is our Gantt chart. Here, you can focus on adding a start and end date to your items, and you'll see them laid out nicely next to one another.
Note: items will not appear on the Roadmap until you add start and end dates.
If items in your project do not already have a start and end date, you can add them from the roadmap view. Here's how:
Double-click the desired item
Select the Charger icon
Add your dates
Click SAVE CHANGES - without pressing this button, the date change will not be confirmed!

To add a new item while in the roadmap view, click the plus sign at the top of the table, next to DONE.
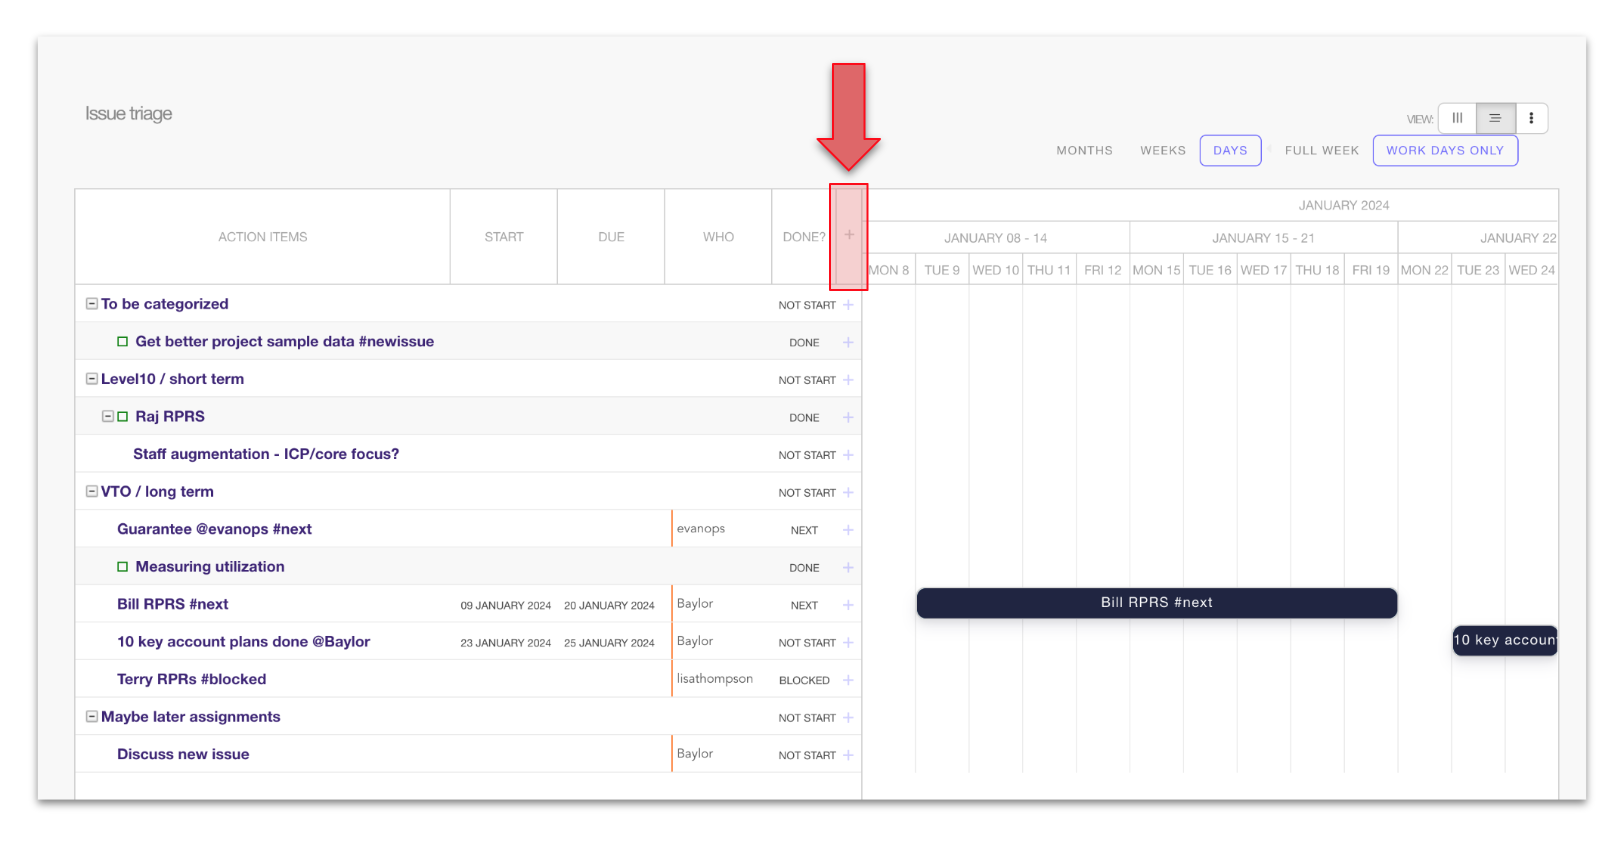
You can create a nested item by clicking the plus sign on the same row as the section/item you want to nest something under.
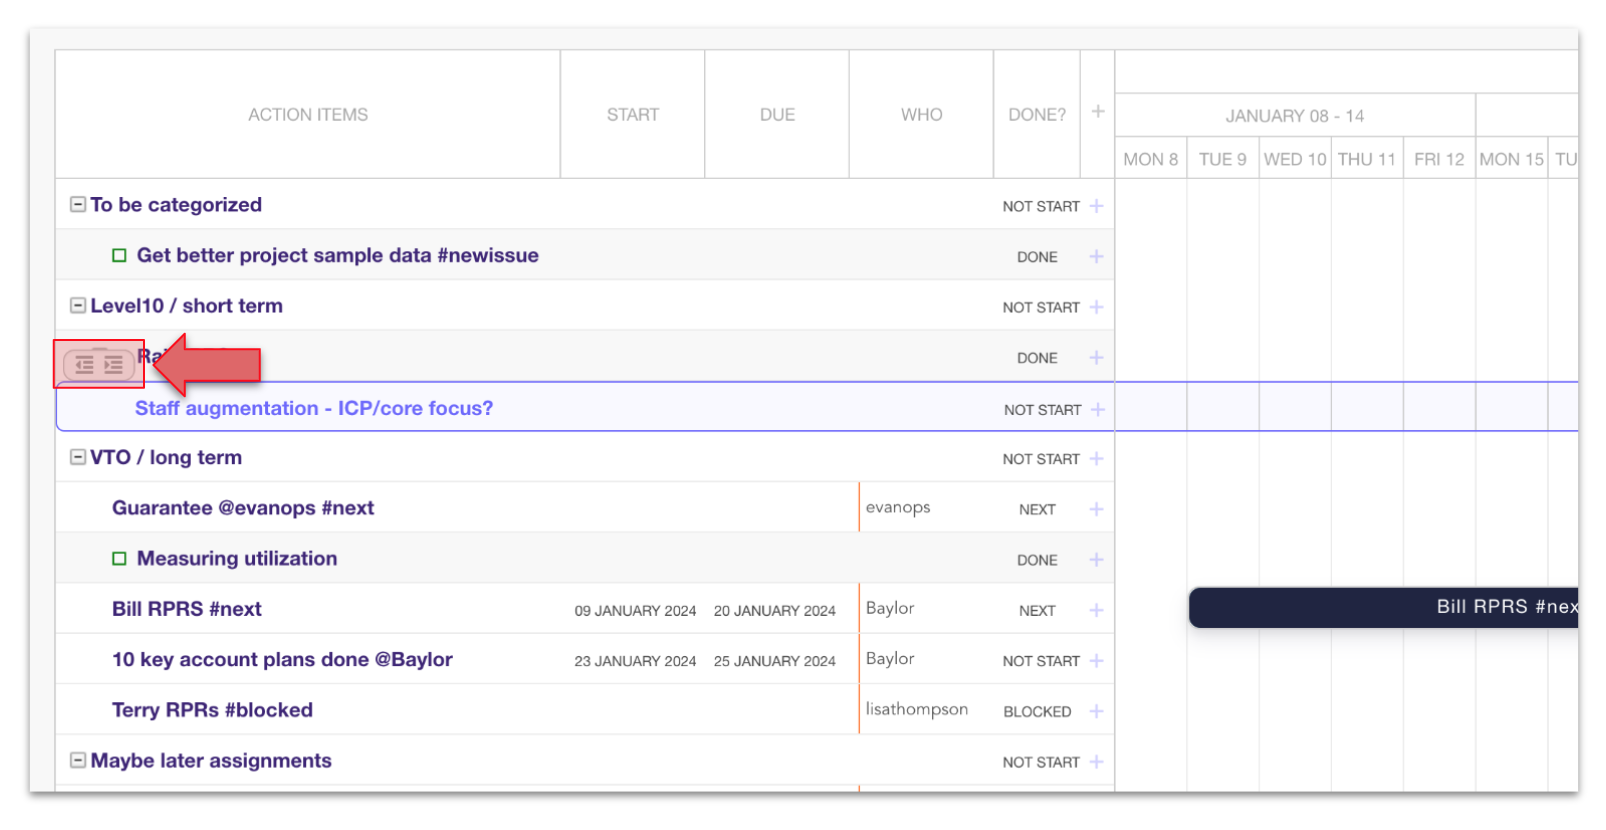
By single-clicking an item's row, you can indent and outdent the item so that it becomes a section, or gets nested under a different section:
You can create also dependencies between items on your roadmap for more sophisticated project planning. Connect two items so that the dates of one project depend on the completion, or start date, of another.
To do so, make sure the two items you want to connect each have start and end dates so that they show up on the roadmap. Hover over the bar you want to create a dependency for, then click and hold down on the dot that appears at either the start or end of the bar, and connect it to either the start or the end of your other item.

To delete the dependency, double click the orange line that connects the two items.